

How to Organize a Project from Start to Finish: A Complete Step-by-Step Guide


Are you a project manager who struggles to keep your workflow organized and under control?
You’re not alone. Every day, most managers wrestle with:
- Multiple projects with shifting timelines
- Meeting notes you never review
- One-off tasks mixed with major project work
The challenge is real, and it takes a toll on your effectiveness and confidence. You know you’re capable, but poor organization limits your impact, and it doesn’t have to be this way.
In this guide, we’ll show you simple steps to organize your projects from start to finish.
So let’s dive in!
How to Organize a Project: 12 Battle-Tested Steps That Actually Work
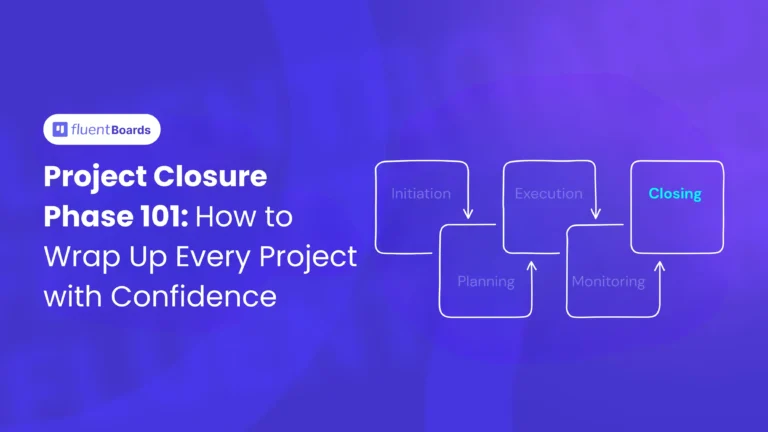
Every successful project moves through five key phases of the project management lifecycle:
- Initiation
- Planning
- Execution
- Monitoring
- Closing
Let’s dive into each step and see how they help organize your project in every phase effectively-
1. Set clear expectations
The old saying goes, “Well begun is half done,” and in project management, that strong beginning starts with the initiation phase.
At this stage, setting clear expectations will shape your entire project workflow. So, you understand:
- What needs to happen, and when?
- Who is responsible, both within your team and among stakeholders?
With these answers in hand, you can start organizing your project from the ground up by identifying all key stakeholders and who should be involved at different points.
Plus, getting this mapped out early prevents those awkward moments later when someone important says, “Wait, nobody told me about this!
2. Use project management software
Once you’ve set clear expectations, you’ll quickly realize how much coordination is actually involved!
You start with a simple idea, but suddenly, you’re tracking twenty different things, and your team is asking where everything is.
At first, most managers try handling this manually until they realize they’re wasting nearly 500 hours a year on things the right software could handle automatically!
Level up your WordPress project management game with this Trello equivalent solution – where limitless possibilities come at an unbeatable price!
Yes, you read that right—500 hours a year!
That’s why we strongly recommend choosing your project management tool at the very start of a project.
Take time to evaluate your needs carefully and pick a tool that not only meets all your requirements but also keeps your team organized and aligned from start to finish.
Here are a few quick questions to guide your decision:
- Does the pricing put unnecessary strain on your overall project management budget?
- Does this tool offer all the essential task management features?
- Is it simple and intuitive to use?
- Are there any hidden growth costs, like member-based or project-based charges?
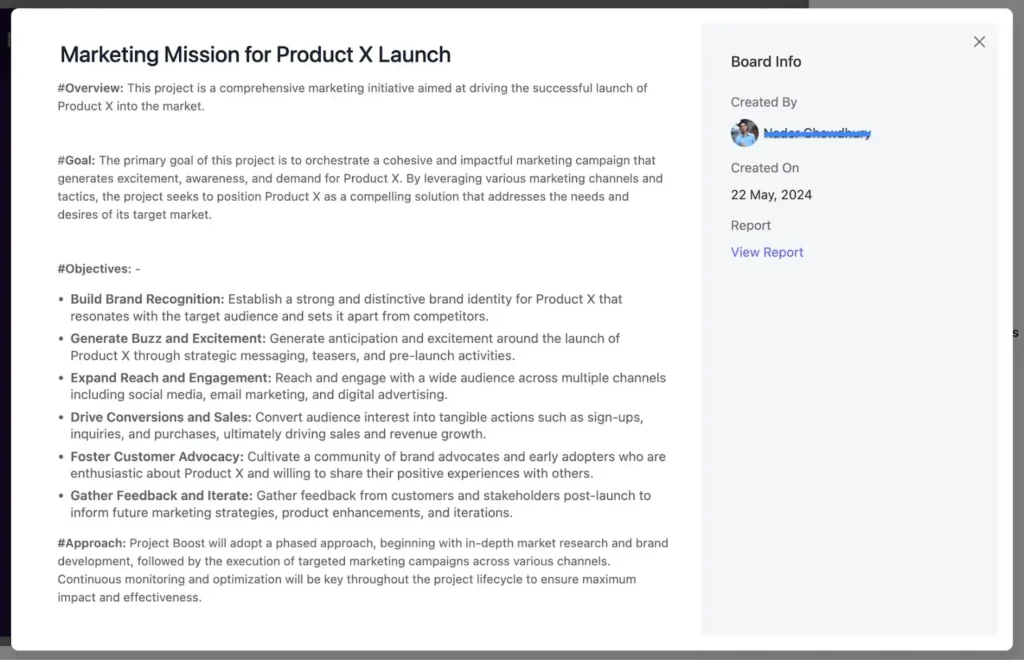
Note: To make everything easier to follow, we’ve included FluentBoards screenshots throughout the upcoming steps
3. Define project goals and objectives
Now comes the most important step, the one that stops the chaos before it starts. Begin by organizing your project around its core purpose:
- What do we want to achieve?
- How will we achieve it?
These questions shape your project’s direction with clear project goals and measurable objectives that will guide you toward your desired outcome.
Also, this early clarity opens the door for input and buy-in from stakeholders and team members. making the entire project easier to organize around shared priorities.
To keep this momentum, set SMART goals so your team has clear success metrics to stay focused and track progress.
Want a deeper breakdown? Check out our full guide on Project Goals and Objectives!
4. Create a project plan
After setting the groundwork, it’s time to build a structured plan that organizes your efforts and turns strategy into action.
This also marks the beginning of the project planning phase, the stage where your project really comes to life.
So, before starting your project in action, get organized first by investing time upfront to develop a clear project plan including:
- Project scope and clear project deliverables
- Realistic timelines and project milestones
- Assigned responsibilities and task dependencies
- Resource requirements and budget estimates
- Risk mitigation strategies
- Communication guidelines (when, how, with whom)
5. Use a Work Breakdown Structure (WBS)
With your roadmap established, the next step is to break your project into manageable components by using a Work Breakdown Structure (WBS).
And, we’re now moving from project planning to project execution!
This is where your high-level plan becomes bite-sized tasks with a simple to-do list for you and your team.
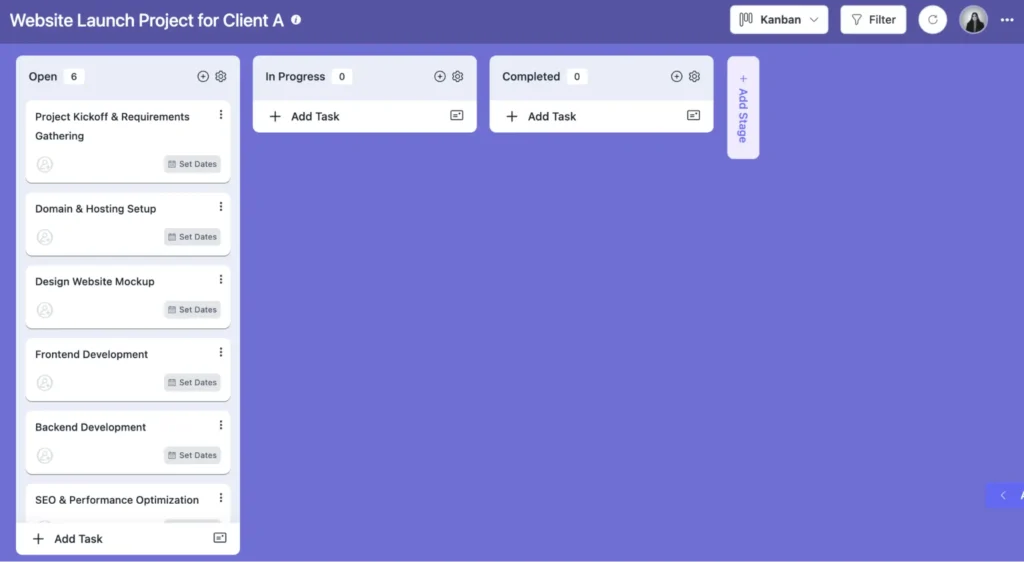
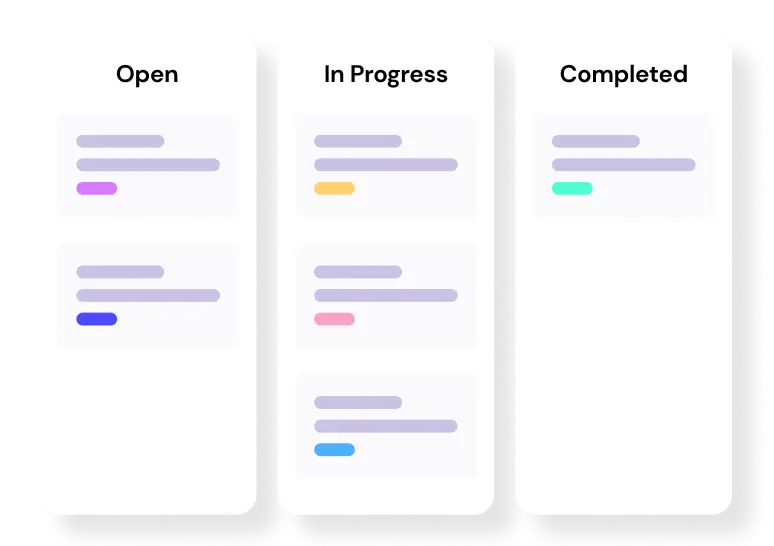
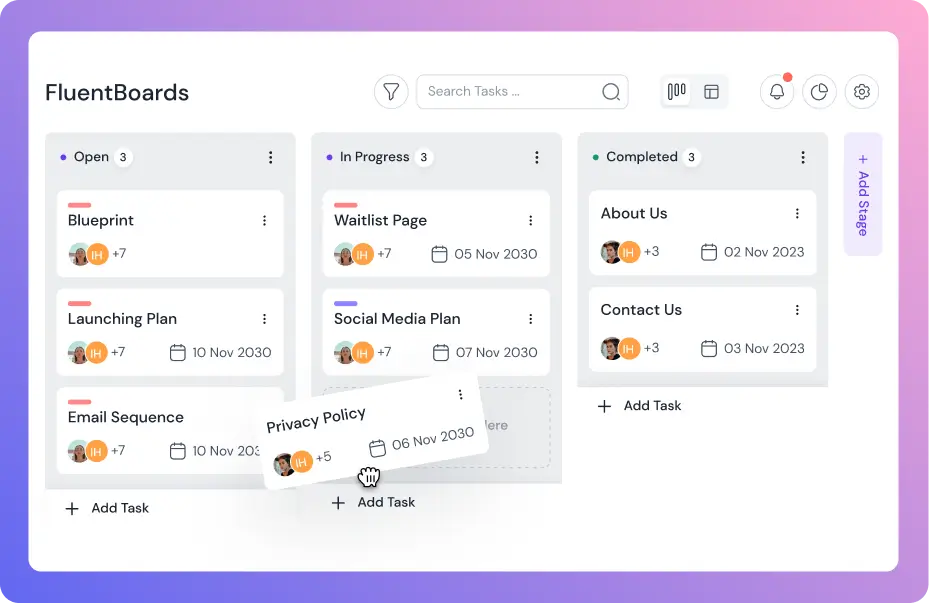
To make everything easier to follow, organize these tasks using a digital Kanban board with three simple stages: Open, In Progress, and Completed.
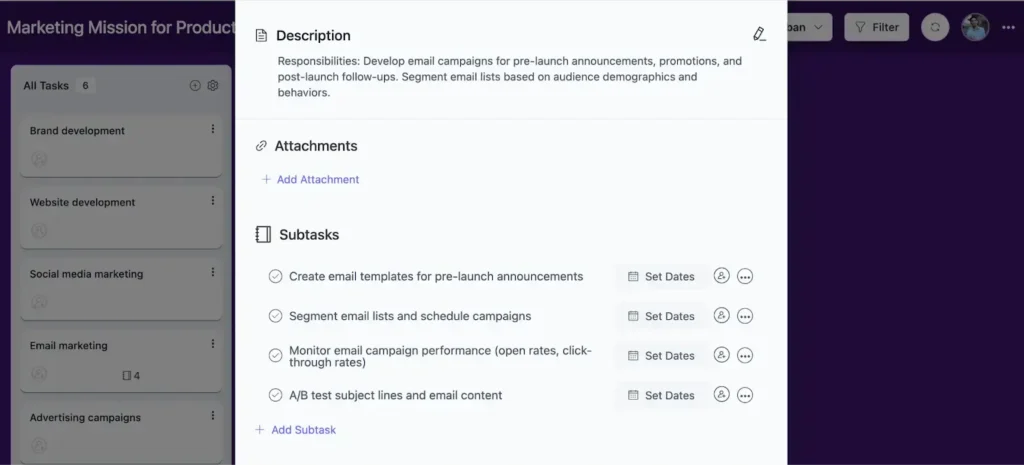
Taking it one step further, you can break these tasks down into subtasks, making each piece more achievable and manageable.
This visual approach lets everyone quickly see what’s happening, who’s working on what, and how milestones are progressing, keeping your project moving smoothly from planning to execution.
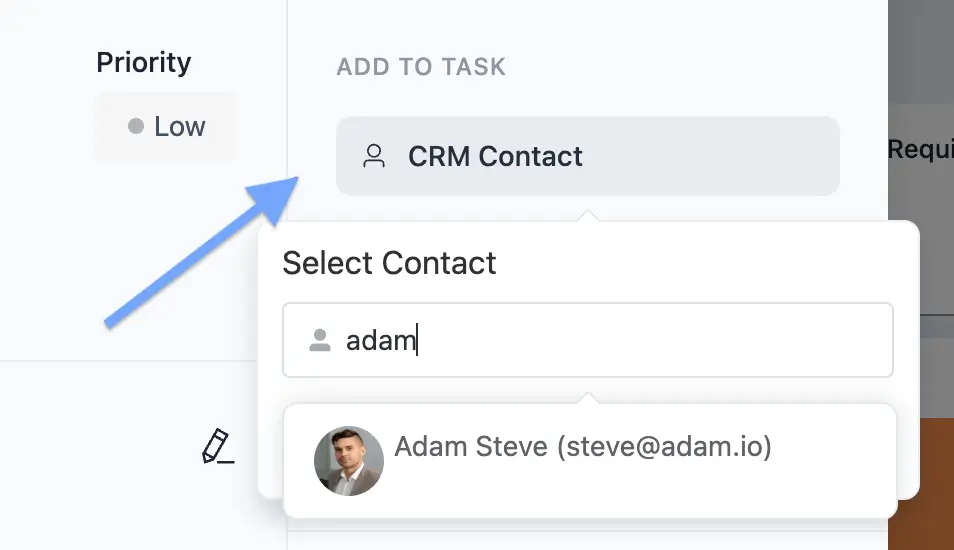
6. Assign responsibilities clearly
Your tasks are now organized and ready, so it’s time to bring your team on board by clearly assigning roles and responsibilities based on individual strengths.
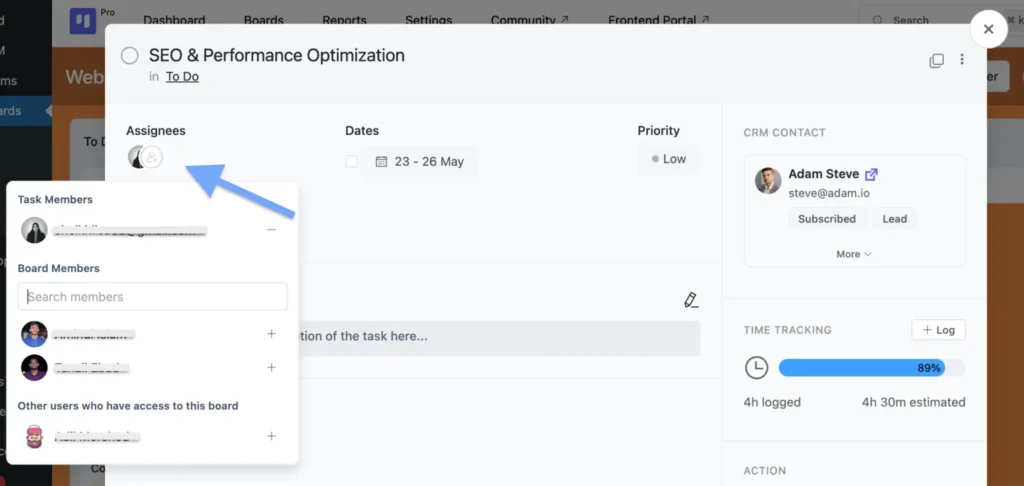
Here, clarity naturally:
- Reduces confusion
- Prevents duplicate efforts
- Ensures no critical task falls through the cracks
And, this leads you to delegate smarter, giving your team ownership, reducing the constant need to micromanage.
Learn more: How to Manage a Project Team
7. Set practical deadlines
Individual responsibilities are clear, which means execution needs realistic timeframes to become a reality.
Studies show that 70% of projects fail due to unrealistic timelines!
So, start by estimating how long each task and subtask will practically take! Remember not to sugarcoat it, as honest estimates prevent nightmare scenarios later.
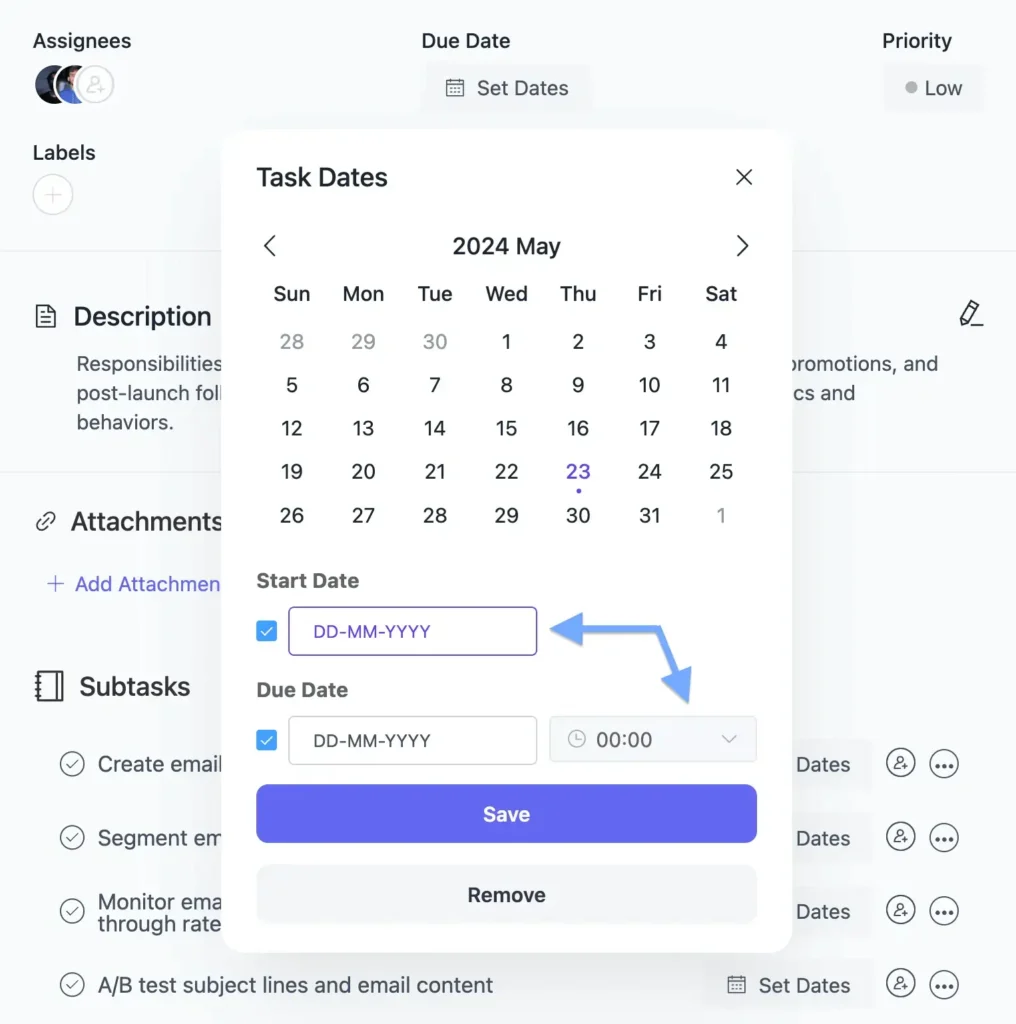
After that, set specific due dates for both major milestones and individual action items from your WBS.
Pro Tips: When setting task deadlines, strike the right balance by making them challenging enough to maintain momentum but achievable enough to keep your project team motivated and avoid burnout.
8. Prioritize the tasks that matter most
Not all tasks are created equal, but many project managers treat them that way. The result? Teams work on the wrong things at the wrong time, wasting valuable resources.
So, rank your tasks based on their impact on project success, urgency, and dependencies. For example:
- What happens if this task is delayed?
- What else depends on it being completed?
Then, organize by using simple priority levels like high, medium, and low with color-coded labels for visual clarity within your project management tool.
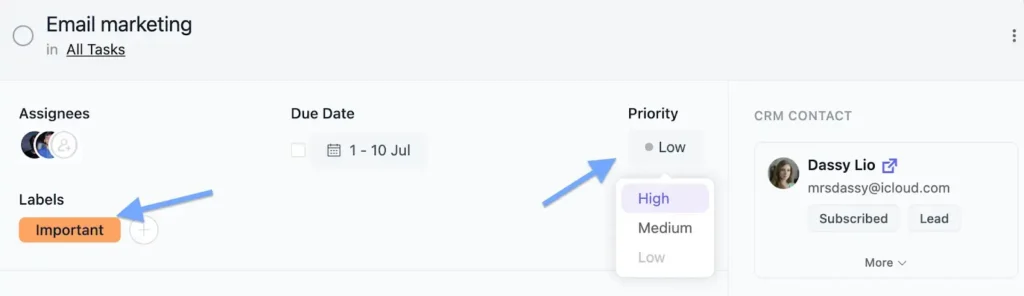
This approach makes organizing your project way easier and keeps your team focused on maximum-impact work.
9. Maintain clear communication
You can organize every detail of your project, but if your communication is messy, things will still fall apart.
In any project, communication typically flows in two directions
- Within your team and
- Between your team and stakeholders or clients
For team updates, especially on high-priority tasks, real-time communication is key. It keeps everyone aligned and avoids delays caused by confusion or back-and-forth messages.
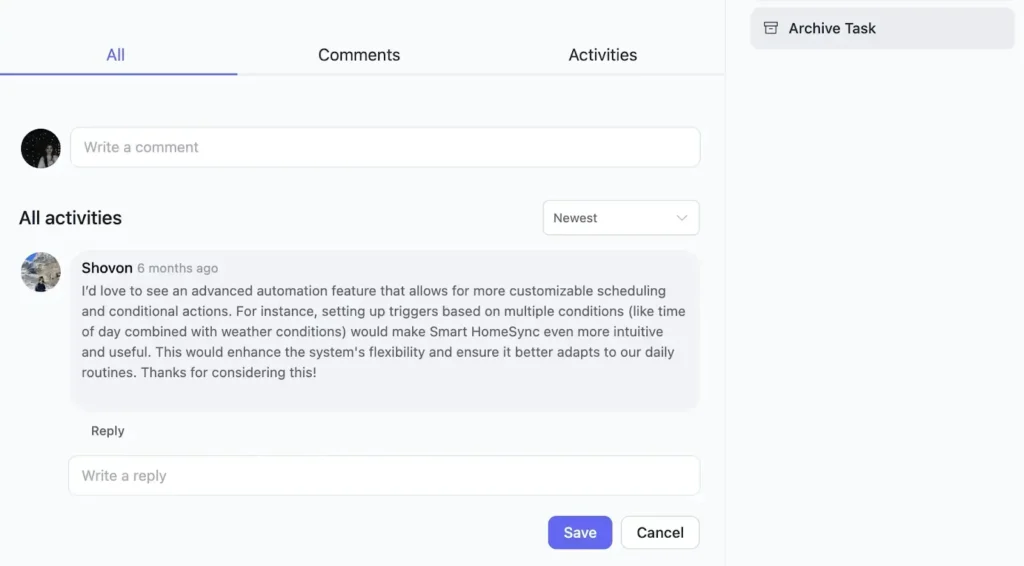
At the same time, stakeholders often need to provide input or approvals. Keeping them in the loop with a clear, structured process helps avoid roadblocks.
When both sides are consistently informed, your project runs more smoothly, stays organized, and avoids last-minute surprises.
10. Track progress and KPIs
Next, it’s time to shift into the project monitoring phase, where staying on top of progress and performance indicators is essential for keeping everything on schedule.
With visual displays, you can quickly assess task completion rates, spot overdue items, and understand how priorities are distributed.
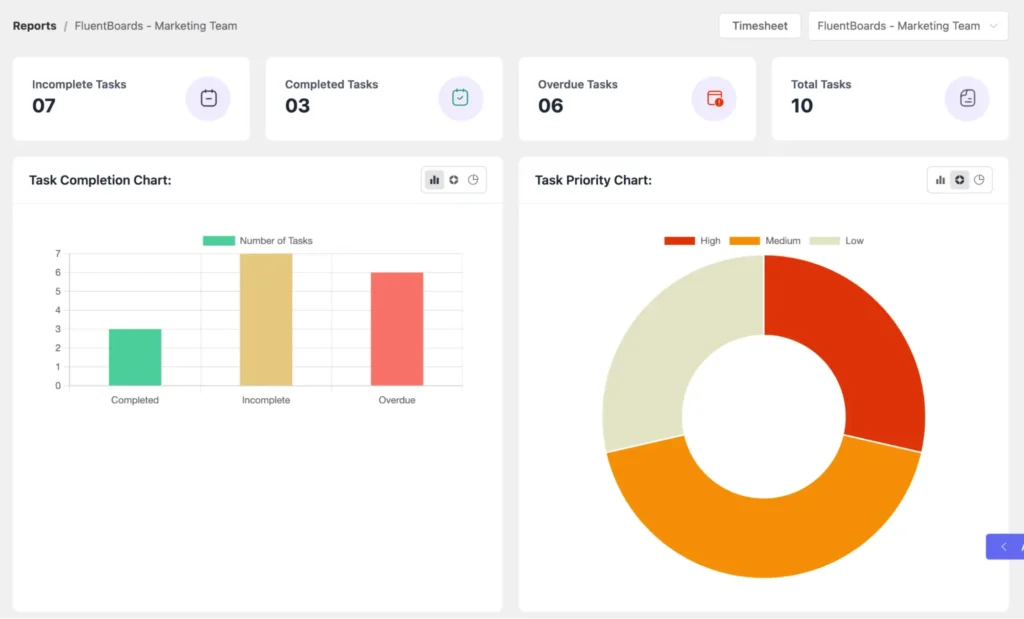
Additionally, keep an eye on key project management indicators to spot patterns before they become problems, enabling quick adjustments to keep your project organized.
11. Manage scope and changes
Scope creep is practically inevitable, and it’s one of the most common project management challenges. But it doesn’t have to derail your organized project, so set up a change control process from day one.
When requests come in, evaluate them against your timeline and budget, then document every approved change because today’s “quick adjustment” can easily become tomorrow’s major headache.
Step into the Future of Project Management!
12. Review, learn, and improve
Well done! You’ve now walked through the complete journey of organizing a project from start to finish.
But there’s one final phase that completes this journey: the closing, which needs a strong ending through conducting a focused post-project review.
This is where you dig deep into:
- What kept things organized?
- What processes need improvement?
Document these insights so your next project benefits from proven systems and avoids the same organizational pitfalls you’ve learned to navigate.
Remember, you’re not just completing projects, you’re building your expertise in project organization with every single one.
Deliver Projects With Confidence by Staying Organized
Project organization moves step by step to turn ideas into success. By setting clear expectations, working as a team, and staying adaptable, you can achieve great results with confidence.
Start by understanding the basics, create a bulletproof plan, execute systematically, monitor progress consistently, and finish strong. Learn from every experience and use those lessons to improve your next project.
As Benjamin Franklin said, “For every minute spent organizing, an hour is earned.” And who doesn’t love earning extra time?
Thank you for reading this far. Your next project will be incredibly organized!
Let’s redefine project management with FluentBoards!

Follow:
Get Tips, Tricks, & Updates
We won’t send you spam.


Leave a Reply