FluentBoards Time Tracking lets you view a time log of your task work hours, along with descriptions that show task progress. This feature helps you determine effective work hours for project management.
In this guide, we will show you how to enable and how the Time Tracking feature works.
Enable Time Tracking #
To enable the time tracking module for your board tasks, go to the Settings in FluentBoards and select Feature & Module.
Here you will see Time Tracking option and click the Toggle button to enable it. Once enabled, the Time Tracking feature will be active automatically for your tasks.
Time Tracking in Task #
Now, navigate to the specific task where you want to add time tracking. In the task creation pop-up, you will find the Time Tracking feature on the right side.
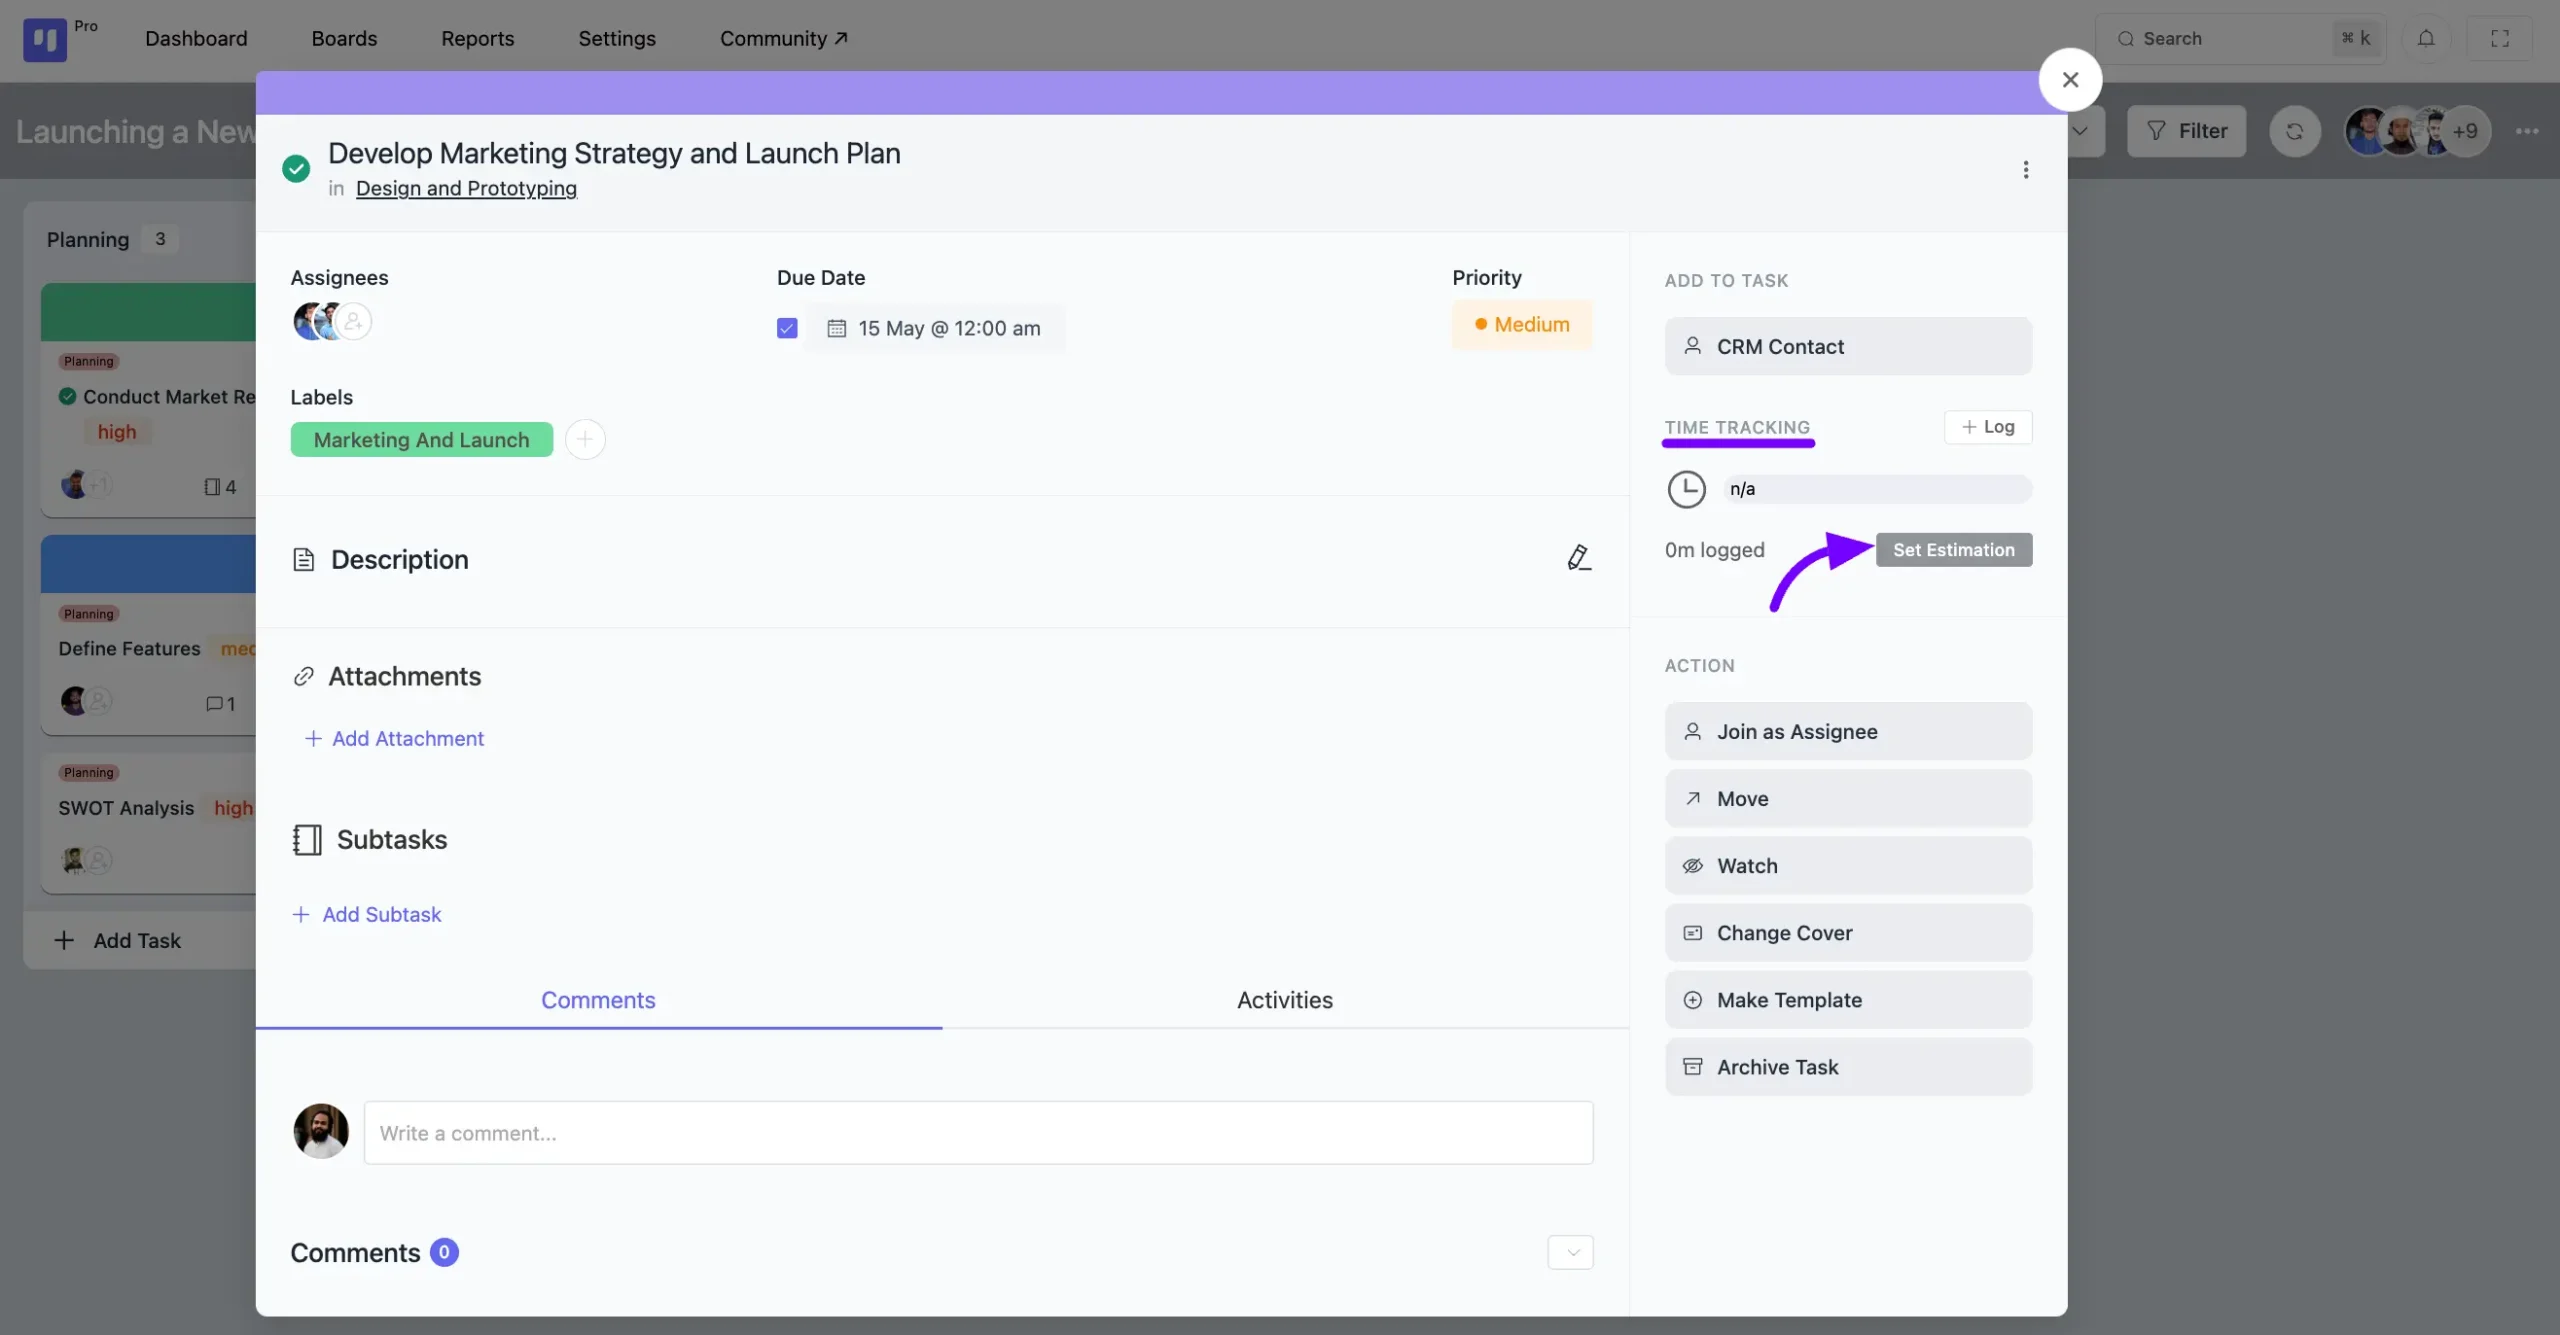
Set Estimate Time #
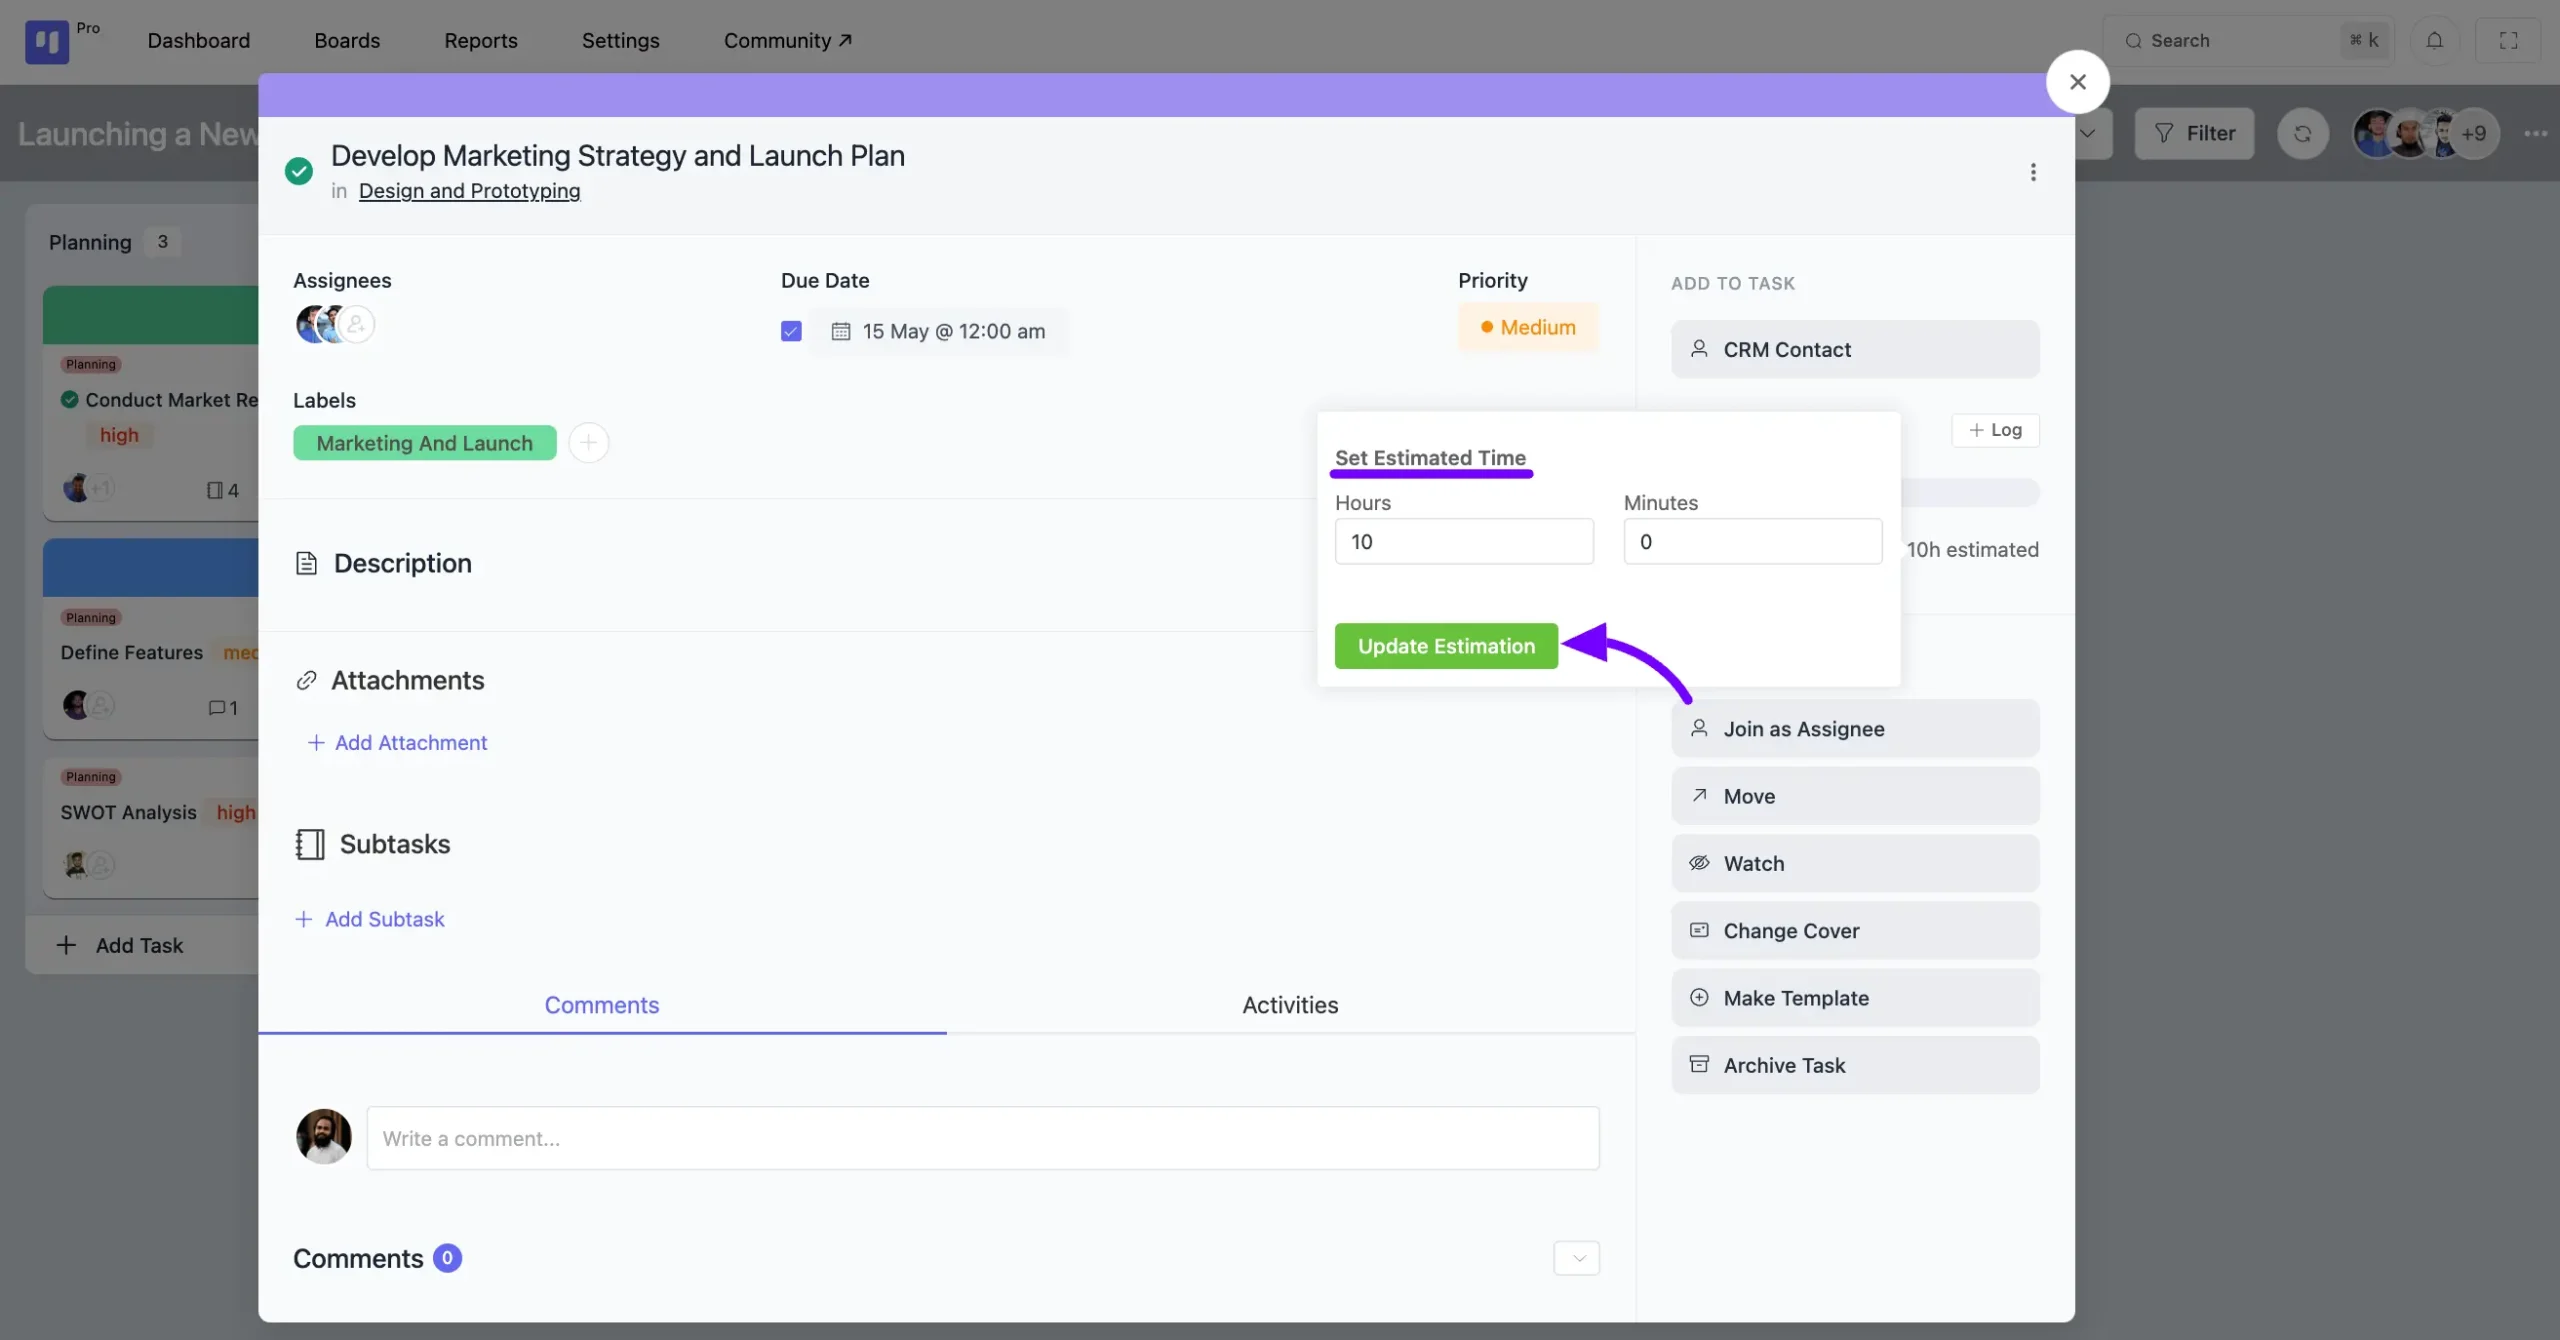
Click on the Set Estimate button. This allows you to set an estimated time for the task. Enter the estimated hours and minutes required to complete the task, then click on the Update Estimation button.
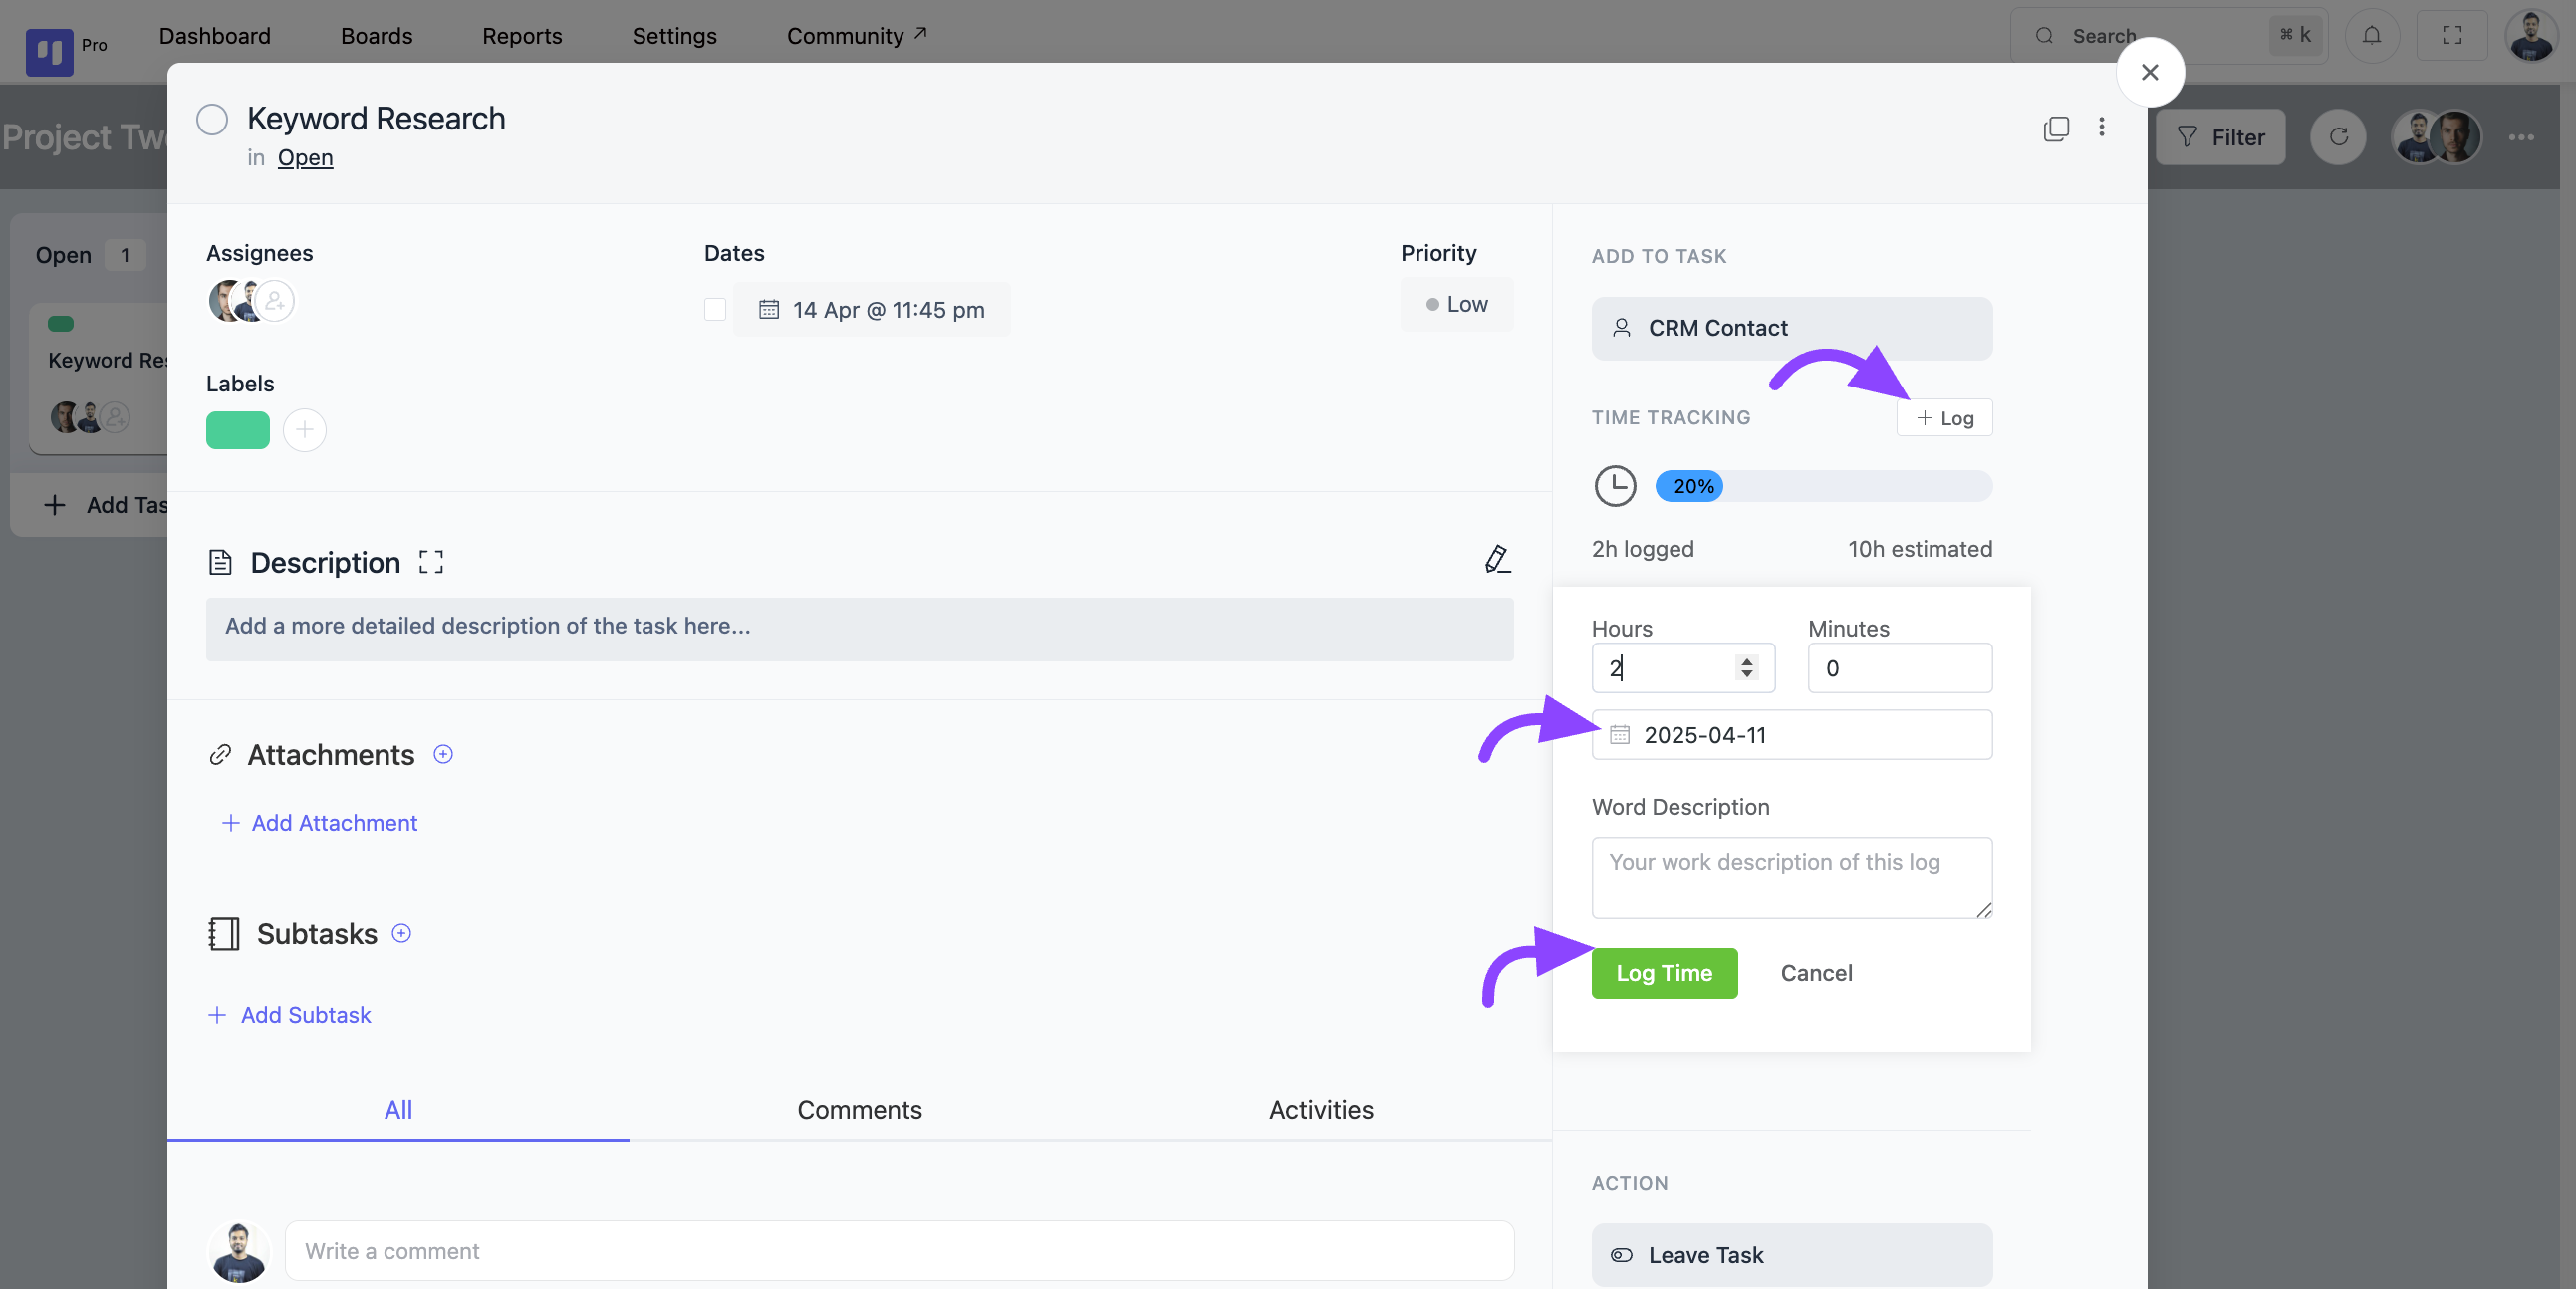
Set Log #
Next, you will find the Log option for the task. This allows you to record the amount of Time with Dates you have worked and add a Work Description. Once you have entered the details, click the Log Time button to save your log.
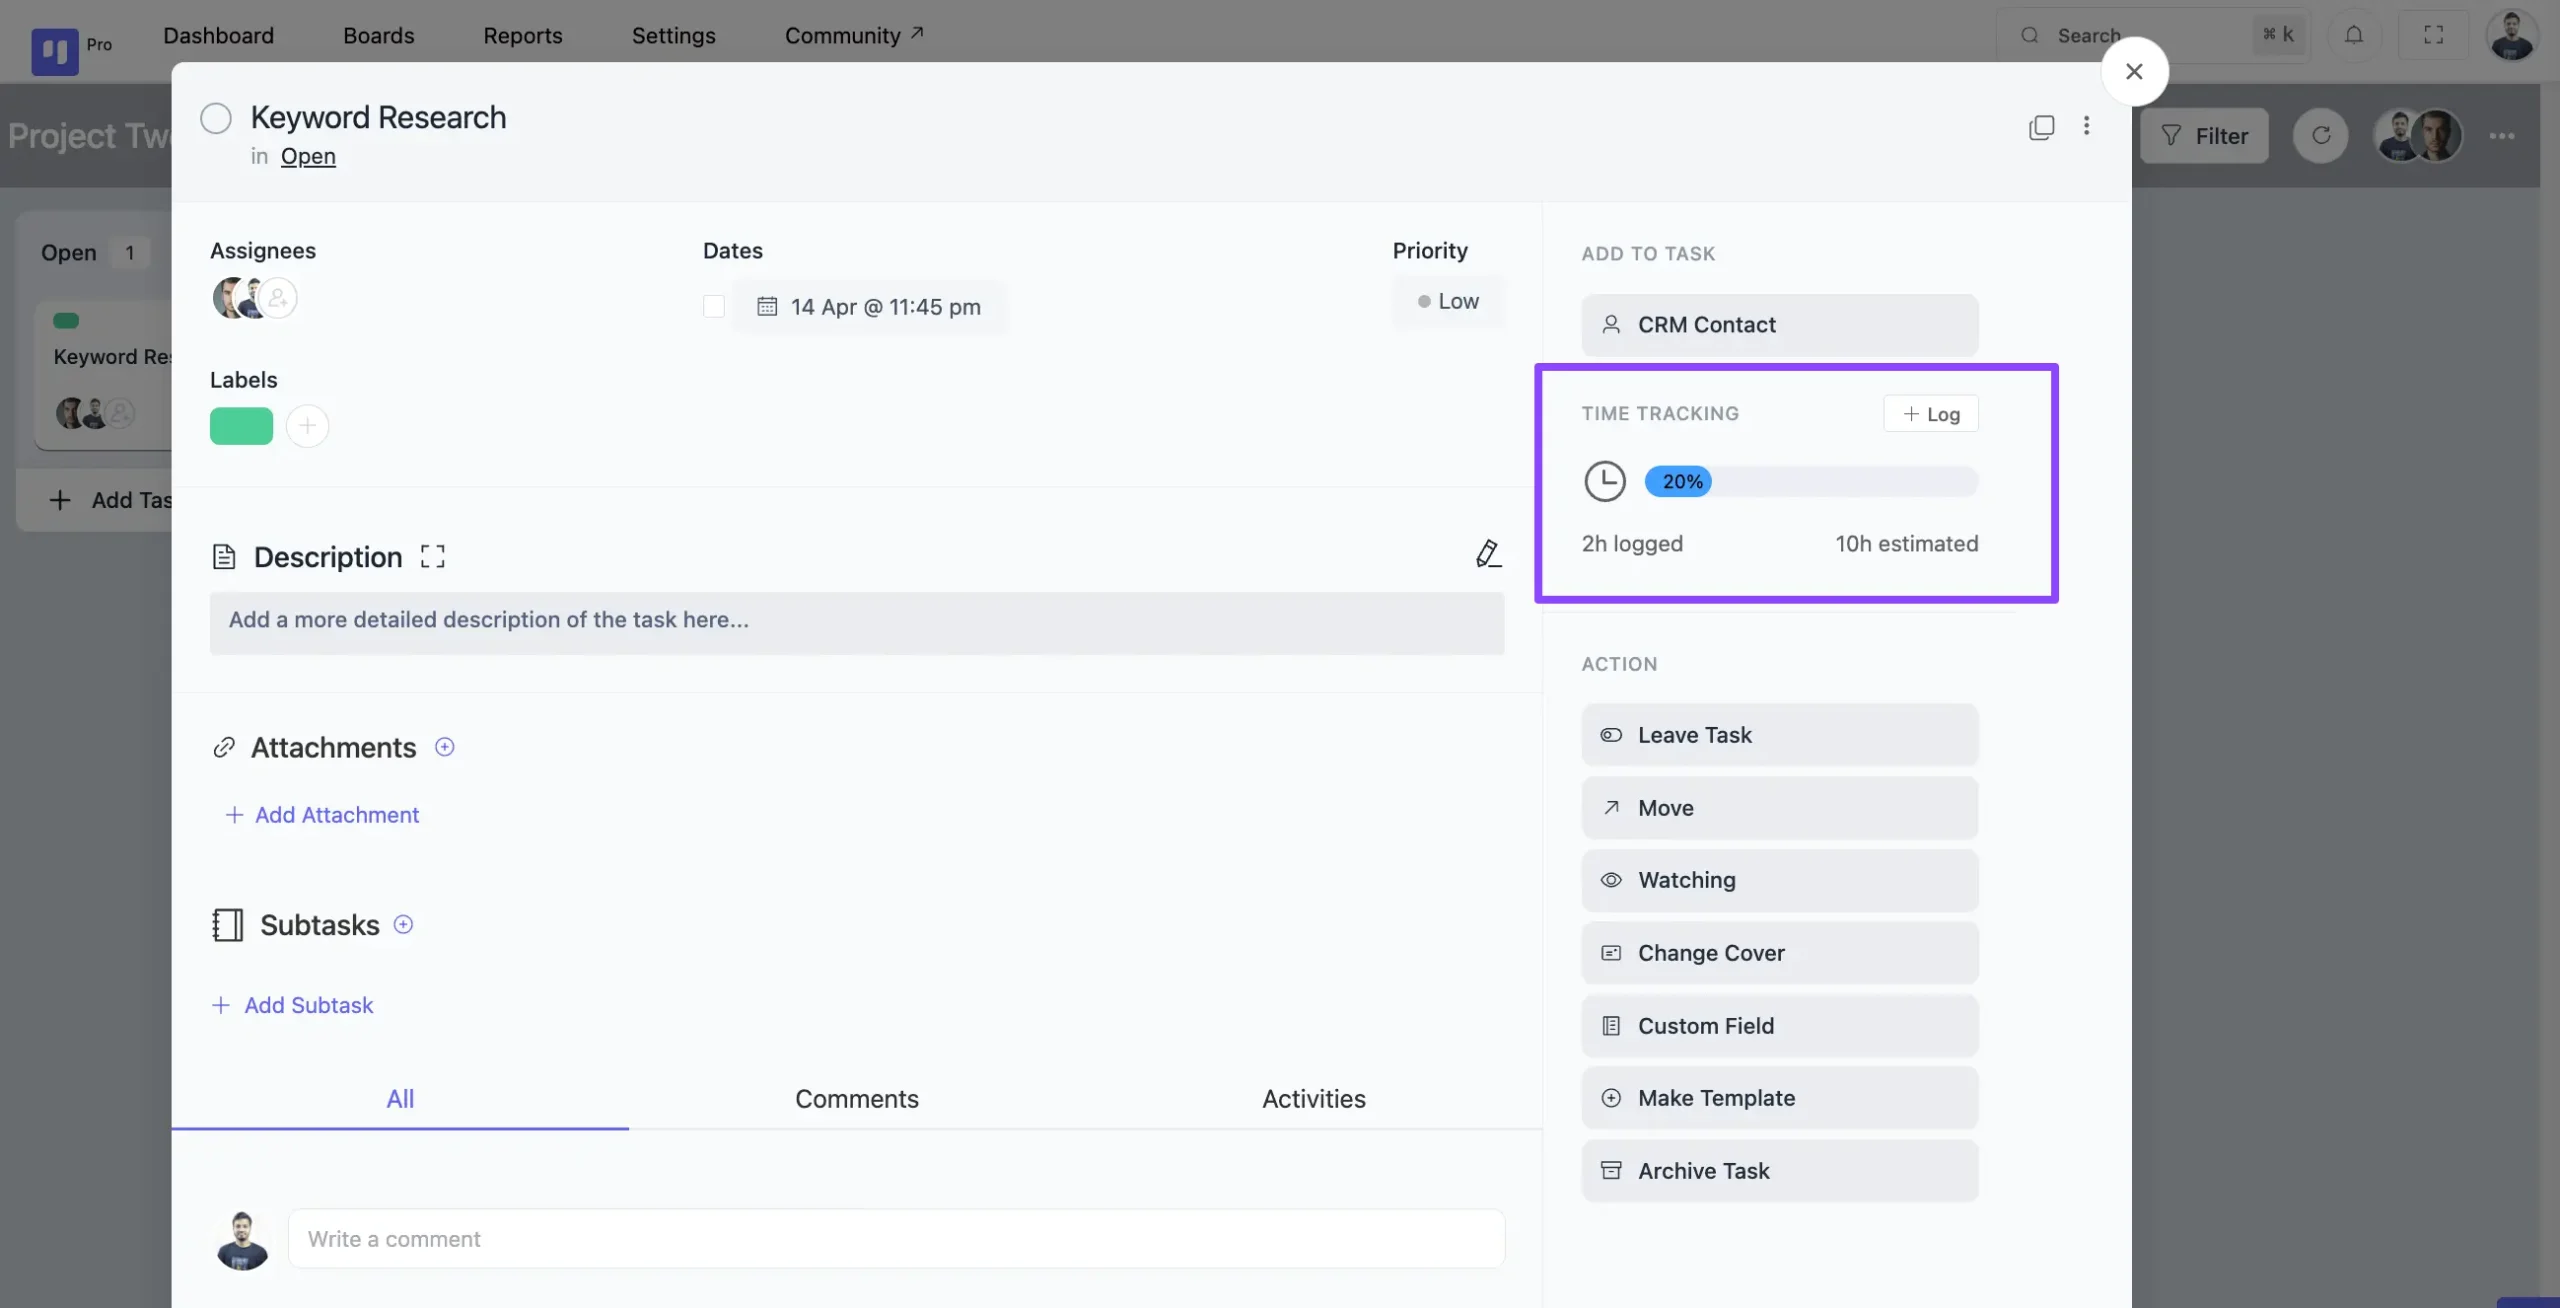
After that, you will see the progress of the time, which will be displayed based on the estimated time set for the task, the logged time, and the date you added.
You’ll also receive a Timesheet Report that’s tailored to tasks and members within your boards. Dive into the documentation for further details.
That’s how FluentBoards Time Tracking feature works now if you have any further queries then don’t hesitate to contact us.


The view in these examples is different than mine. How can I change those options in your sidebar to be in the sidebar instead of at the bottom of the task? I like that view MUCH better!
Sorry, Sean! I’m a bit confused about what you’re actually looking for. Could you please elaborate so I can better understand?